
This guide will walk you through the steps to preparing a custom map for Bionic. (version 1.5.0 Alpha and later)
In case you're a Counter Strike fan, here's a working link you can paste into Bionic: https://dl.dropboxusercontent.com/s/lnkdtmzjlemohk8/cs_office.obj
In case you're a Counter Strike fan, here's a working link you can paste into Bionic: https://dl.dropboxusercontent.com/s/lnkdtmzjlemohk8/cs_office.obj
1. Find map file
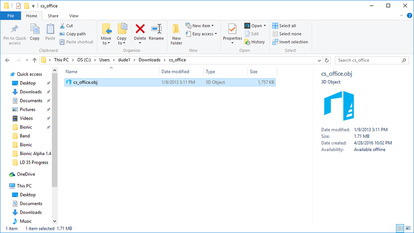 Downloaded cs_office.obj
You'll need a map file. This can be created or used from another source. Only requirement is that it's a .obj file (Try googling "obj map file").
2. Add properties to file
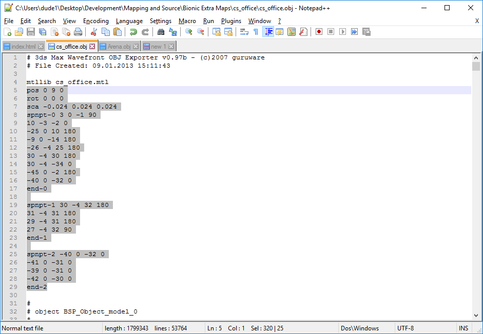 Using Notepad++
This is complicated, it's recommended to have some knowledge of the map units and orientation to do this. Skip if you want to make sure the map works first. Open your .obj with Notepad++ or similar and you'll see many values. These values are the vertices of the model, but we can type our own values in this file. Use the reference below to change the map properties.
Format to use:
"pos (x) (y) (z)" - map position.
EX: pos 0 10 0
"rot (x) (y) (z)" - map rotation, some maps will need alignment.
EX: rot 0 90 0
"sca (x) (y) (z)" - map scale, might need to flip x axis.
EX: sca -0.2 0.2 0.2
"spnpt-(teamNum) (x) (y) (z) (yRot)" - player spawn point position and y rotation.
EX: spnpt-0 3 0 -3 180 (for neutral spawn point)
NEW "flgpt-(teamNum) (x) (y) (z)" - flag point position.
EX: flgpt-1 20 -1 2 (for blue flag point)
Sorry that these commands are hard to read and write. None of these values are required, so it's recommended to go to steps 3-4 and then fix with properties. Remember that the y rotation on spawn points is broken, it can only rotate 0 and 180 degrees, other values will just be 0 or 180. Also, the "teamNum" you see above can be 0 for neutral, 1 for blue, and 2 for green team.
Don't forget that bots will not work in these custom maps at the moment!
3. Upload file, create URL
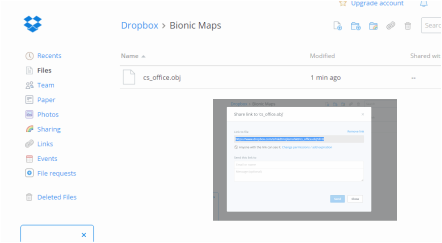 Dropbox upload
This step is easy with Dropbox. If you have an account, you're in luck!
First, upload your .obj file into Dropbox. Pick a good spot.
Second, click the share button on your .obj file.
Copy the link, make sure it says anyone can access the file through the link.
First, upload your .obj file into Dropbox. Pick a good spot.
Second, click the share button on your .obj file.
Copy the link, make sure it says anyone can access the file through the link.
After copying the link, use a text editor or something similar to paste your link. You'll have to change the link a little bit so that it becomes a direct download link.
Before: https://www.dropbox.com/s/lnkdtmzjlemohk8/cs_office.obj?dl=0
replace "www.dropbox.com" with "dl.dropboxusercontent.com"
delete "?dl=0"
After: https://dl.dropboxusercontent.com/s/lnkdtmzjlemohk8/cs_office.obj
Keep this new, correct URL that you can use in the next step.
Before: https://www.dropbox.com/s/lnkdtmzjlemohk8/cs_office.obj?dl=0
replace "www.dropbox.com" with "dl.dropboxusercontent.com"
delete "?dl=0"
After: https://dl.dropboxusercontent.com/s/lnkdtmzjlemohk8/cs_office.obj
Keep this new, correct URL that you can use in the next step.
4. Import into Bionic
In this final step, you can use your URL to play the map in Bionic. Open Bionic and enter the create game window. Click the "Map" box then select "Custom Map". You'll get a window where you can paste your URL. Create the game and if you've done everything correctly, the map will work great! If it's wrong, try using properties from step 2.
Thanks for reading!
Thanks for reading!
