
You can use this newer video tutorial above, or the written tutorial below.
This written guide is a work in progress... try submitting a Bug Report if something doesn't make sense, or contact through IndieDB or something if you have a question... thanks!
1. Build the map
 Using SketchUp to create the map
You'll need a map file. This can be created or used from anything as long as it is exported as an Obj file.
Keep in mind, as of Bionic 0.1.0 Beta, these obj files should be kept LESS THAN 2MB to load quickly. Sorry!
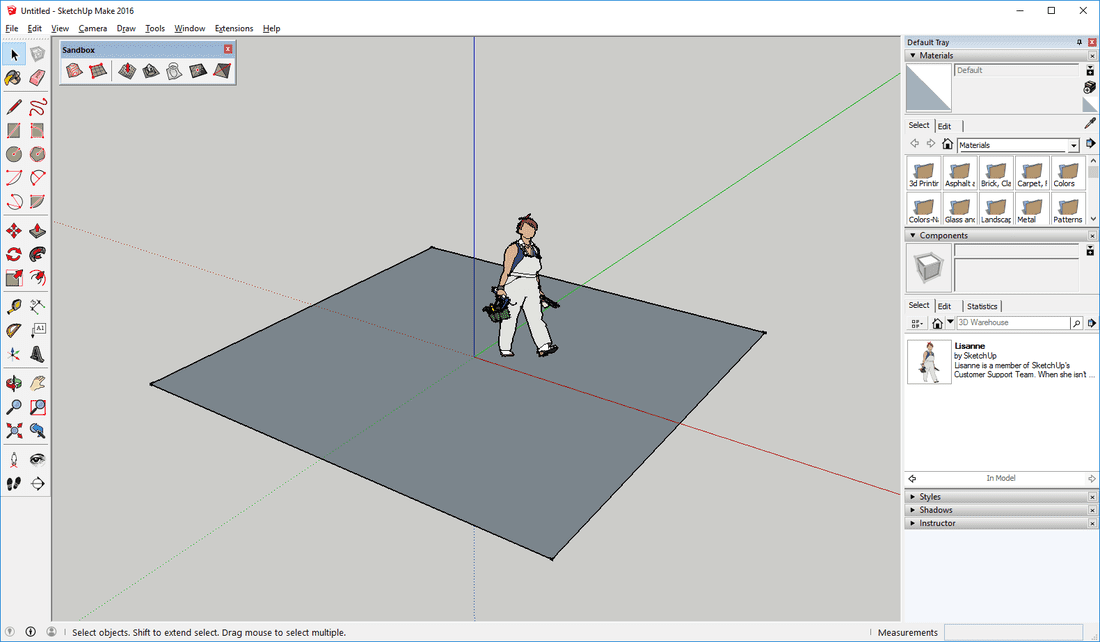
To create a map from scratch, software such as Google SketchUp is recommended.
We'll be creating a tiny test map in this tutorial.
See below for creating an Obj file from SketchUp. There are incredible tutorials online to help you get started with mapping/modelling in any program.
I recommend using something like METERS as your units to give your maps better scaling. (Choose the option on startup)
Keep in mind, as of Bionic 0.1.0 Beta, these obj files should be kept LESS THAN 2MB to load quickly. Sorry!
To create a map from scratch, software such as Google SketchUp is recommended.
We'll be creating a tiny test map in this tutorial.
See below for creating an Obj file from SketchUp. There are incredible tutorials online to help you get started with mapping/modelling in any program.
I recommend using something like METERS as your units to give your maps better scaling. (Choose the option on startup)
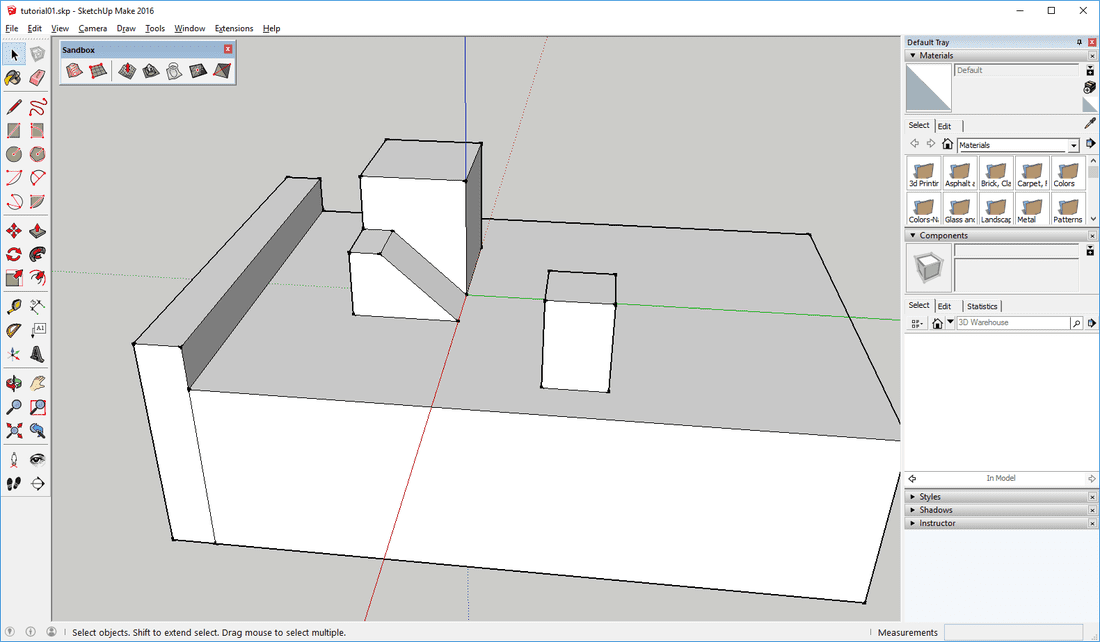 Finished test map... keep it basic for now Finished test map... keep it basic for now
After you're satisfied with a map or you just want to test it, export it to an Obj file.
Make sure your exported file is less than 2 MB I recommend LIPID Obj Exporter for SketchUp. Most programs allow Obj exports. |
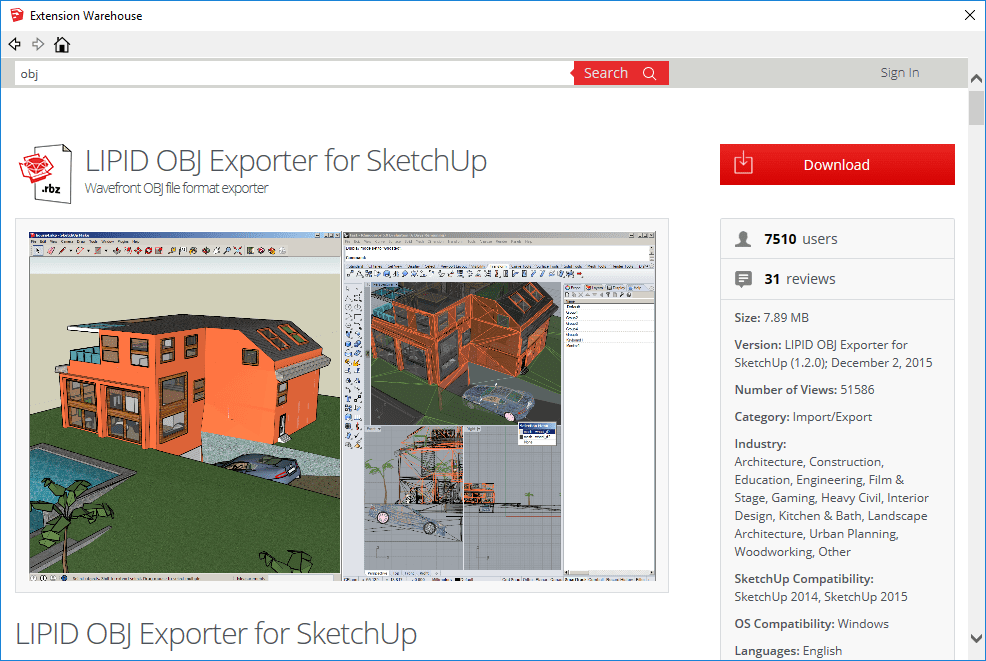
LIPID OBJ Exporter on the Extension Workshop
|
2. Prepare your map for Bionic

A few more steps need to be taken to load the map into Bionic. Using a text program (Notepad++ recommended), you'll have to change some properties of the OBJ file manually. Find a good spot to paste (perhaps a new line at the top of the text) the following template:
PROPERTIES TEMPLATE - Only change the numbers after the code (ie. do not change "sca", and "spnpt-1")!!! See below. (Copy this):
pos 0 0 0
rot -90 0 0
sca 1 1 1
spnpt-0 0 0 0 0
end-0
spnpt-1 0 0 0 90
end-1
spnpt-2 0 0 0 180
end-2
pos 0 0 0
rot -90 0 0
sca 1 1 1
spnpt-0 0 0 0 0
end-0
spnpt-1 0 0 0 90
end-1
spnpt-2 0 0 0 180
end-2
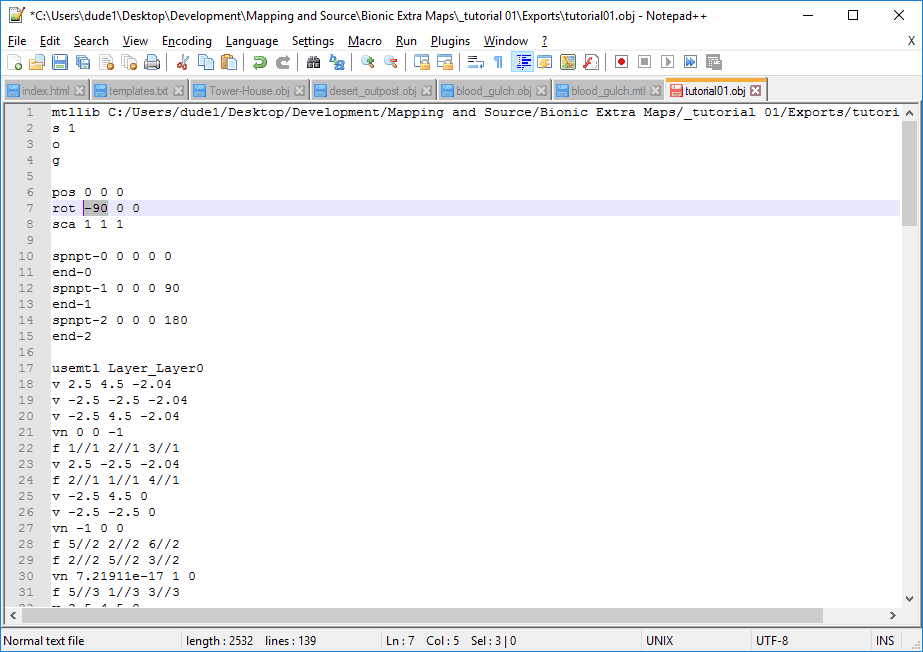
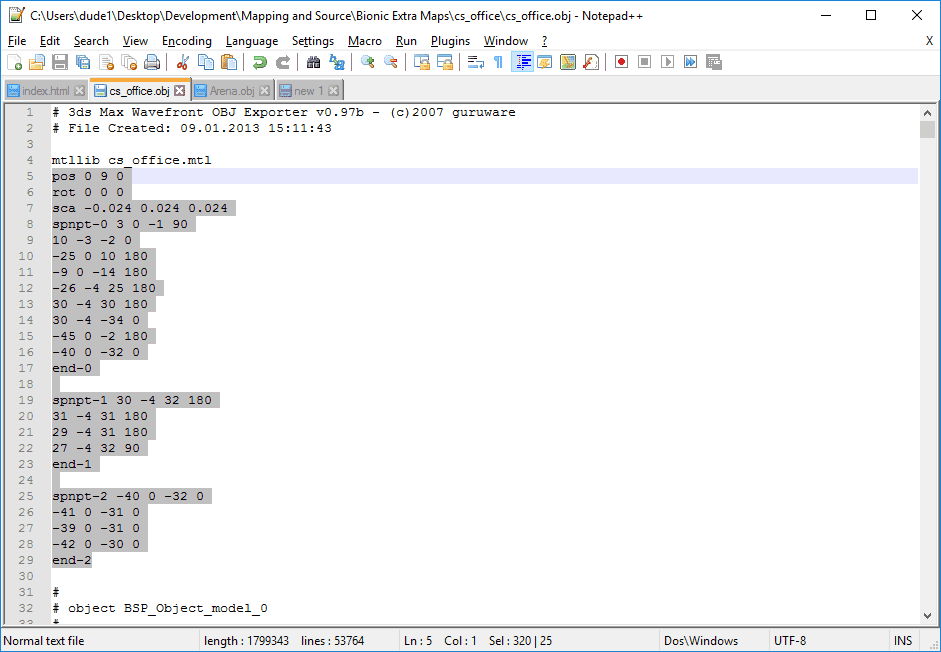 Example of a completed map's properties
This properties "code" tells Bionic how to import your mesh. The reference below will help you correctly set up your map.
MAP PROPERTIES REFERENCE:
"pos (x) (y) (z)" - map position.
EX: pos 0 10 0
"rot (x) (y) (z)" - map rotation, some maps will need alignment.
EX: rot 0 90 0
"sca (x) (y) (z)" - map scale, might need to flip x axis.
EX: sca -0.2 0.2 0.2
"spnpt-(teamNum) (x) (y) (z) (yRot)" - player spawn point position and y rotation.
EX: spnpt-0 3 0 -3 180 (for neutral spawn point)
"spnpt-w (x) (y) (z) (type)" - weapon spawn point position and type.
EX: spnpt-0 1 1.5 2 4 Shotgun (for shotgun spawn point)
"flgpt-(teamNum) (x) (y) (z)" - flag point position.
EX: flgpt-1 20 -1 2 (for blue flag point)
3. Upload, testing and fixing
Save the edited map OBJ and upload it to any type of online file host... Dropbox works great.
Once uploaded, you will need a direct url to the file! Most services allow you to copy a link, but they are not always direct urls. Dropbox links can be easily rearranged into direct urls, as seen below.
Once uploaded, you will need a direct url to the file! Most services allow you to copy a link, but they are not always direct urls. Dropbox links can be easily rearranged into direct urls, as seen below.
Creating a DIRECT URL from a Dropbox link
Before: https://www.dropbox.com/s/lnkdtmzjlemohk8/cs_office.obj?dl=0
replace "www.dropbox.com" with "dl.dropboxusercontent.com"
delete "?dl=0"
After: https://dl.dropboxusercontent.com/s/lnkdtmzjlemohk8/cs_office.obj
This edited url will be used to test the map, because it isn't ready to be submitted yet!

Now you can import the map into Bionic! Paste the direct url created above into the Map URL field in Bionic's Create Game settings. If you have followed the guide by making a map from scratch in SketchUp, you will probably have some small problems to fix! This is why frequently testing the map is so important.
As you can see below, the map we created in SketchUp imported with an incorrect rotation!
As you can see below, the map we created in SketchUp imported with an incorrect rotation!
 Rotation on the x axis
To fix errors, simply refer to the MAP PROPERTIES reference above and make according changes to values in pos, rot, and sca. For this particular rotation error, rotate the map -90 degrees on the x axis by changing the first rot value from 0 to -90. At the moment this method is quite trial-error... sorry about that! I'll make this process simpler in the future.
EDIT: Debug mode is a great alternative (see the video tutorial)
Now the map is set up how you intend, and it's ready for playing. Make sure to save your fixed OBJ and replace the old Dropbox OBJ file! This shouldn't be hard with Dropbox, just drag the new OBJ into the same Dropbox folder and the old file will be replaced... without breaking the direct url you made.
Follow the same directions as before to load the map url in Bionic, and hopefully you're done! :D
I'd be really happy if anyone manages to make a map for Bionic, because right now it takes a lot of headaches... I'll have to fix that!
4. Submission
Is your map complete (or worth checking out)? Go ahead and submit it on this page!
If you followed this tutorial and made an original map, you'll most likely be featured!
If you followed this tutorial and made an original map, you'll most likely be featured!
